Flashforge Dreamer 3D Printer
The following instructions are for a version bought in December 2017.
It's a newer model with a big single bottom plate and grey level sprockets.
Firmware 2.4 20171117
Configure WIFI / WLAN
Follow these steps to use the Flashforge Dreamer 3D printer in your own wireless lan:
On the printer:
- Tools -> Setting -> WIFI
- Enable Wlan
- Note the IP address, in my case 10.10.100.254
The printer is now in AP-mode, that means you have to connect to its own wlan.
On a computer/tablet/smartphone:
Tip: use a separate device like a tablet or smartphone because then your main device (e.g. notebook) remains connect to the internet for recherche.
- Go to wlan settings
- The printer's wlan is "USR_WIFI232"
- Connect to it, no password necessary.
- Open a web browser and go to http://10.10.100.254
- The default username/password is admin/admin
- If you see chinese symbols switch to english in the top right corner
!!! NOW BE VERY CAREFUL !!!
If you make an error it is quite complicated to reset the wifi device! The user interface of the printer's wifi chip will trick you into changing the "Work Mode" first, and then restarting the device without your wlan config. You will be locked out!
- !FIRST! go to "STA Setting", that's the config as a normal wlan client
- Press "Scan" to find your wlan
- Select your wlan
- Enter your wlan password
- Click "Show password" and check it!
- Check all settings!
- Press "Save"
- Now, and only now after setting the STA settings go to "Work Mode"
- Select "AP+STA mode"
- Save
- If you're really sure you set everything correctly, press "Restart"
- Restart the printer and it should connect to your wlan.
- Pitfalls: check if your wireless network accepts new devices
Reset Flashforge Dreamer 3D Printer WIFI
If you mess up, or don't know the wlan settings you can reset the integrated wlan-chip as follows.
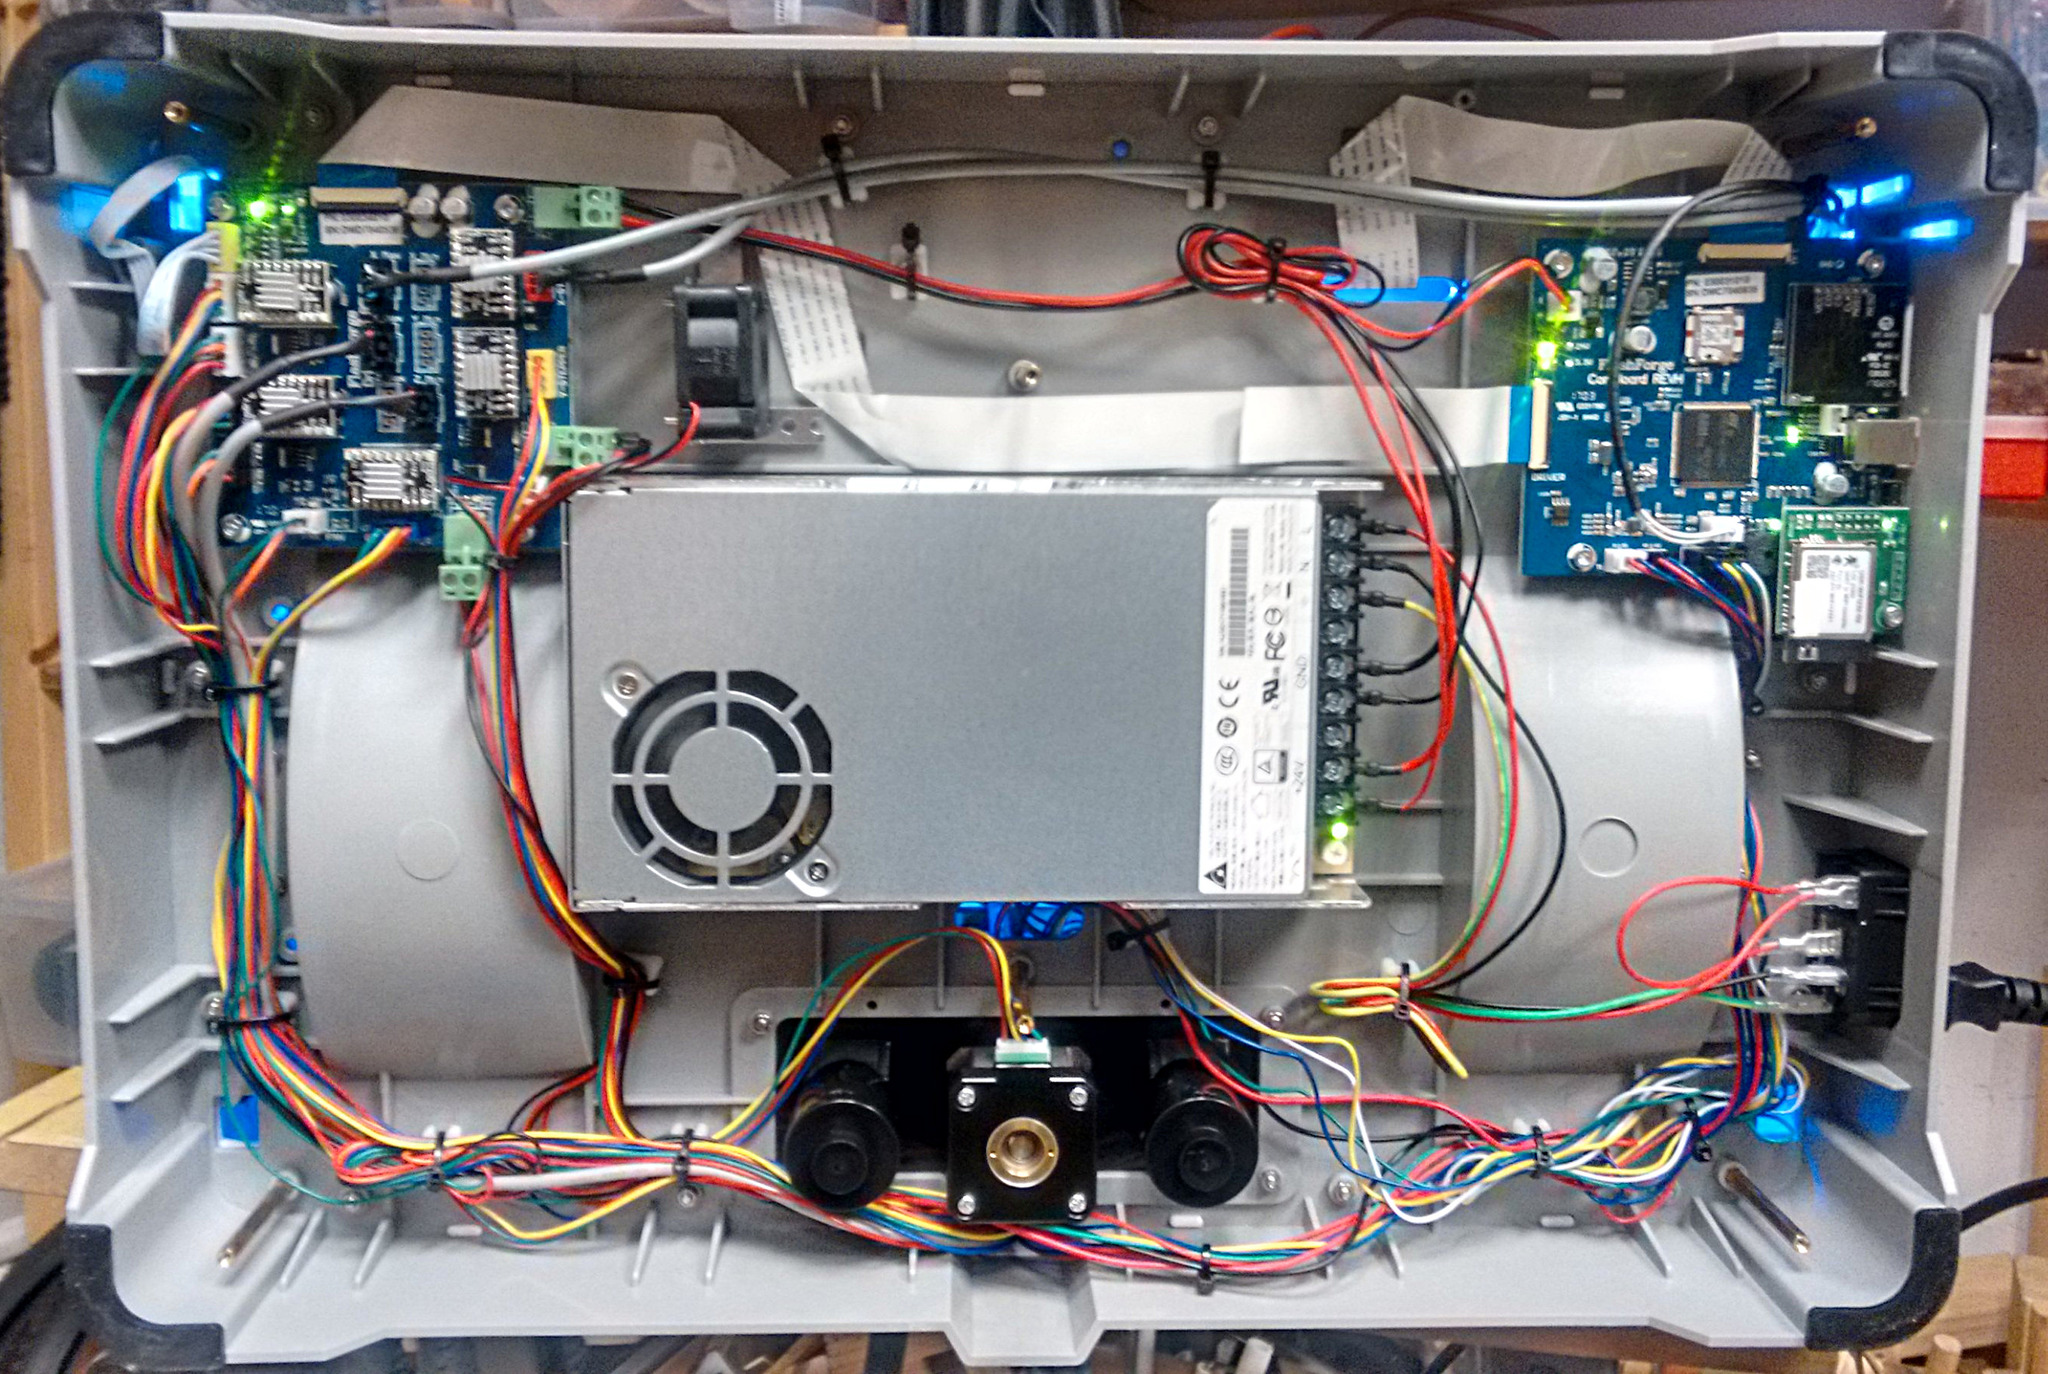
Also see the images below.
- Disconnect the power cable.
- Lay the printer on its back side, so that the underside faces to you.
- Unscrew all screws with a 2.5mm hex wrench
- Remove the bottom plate
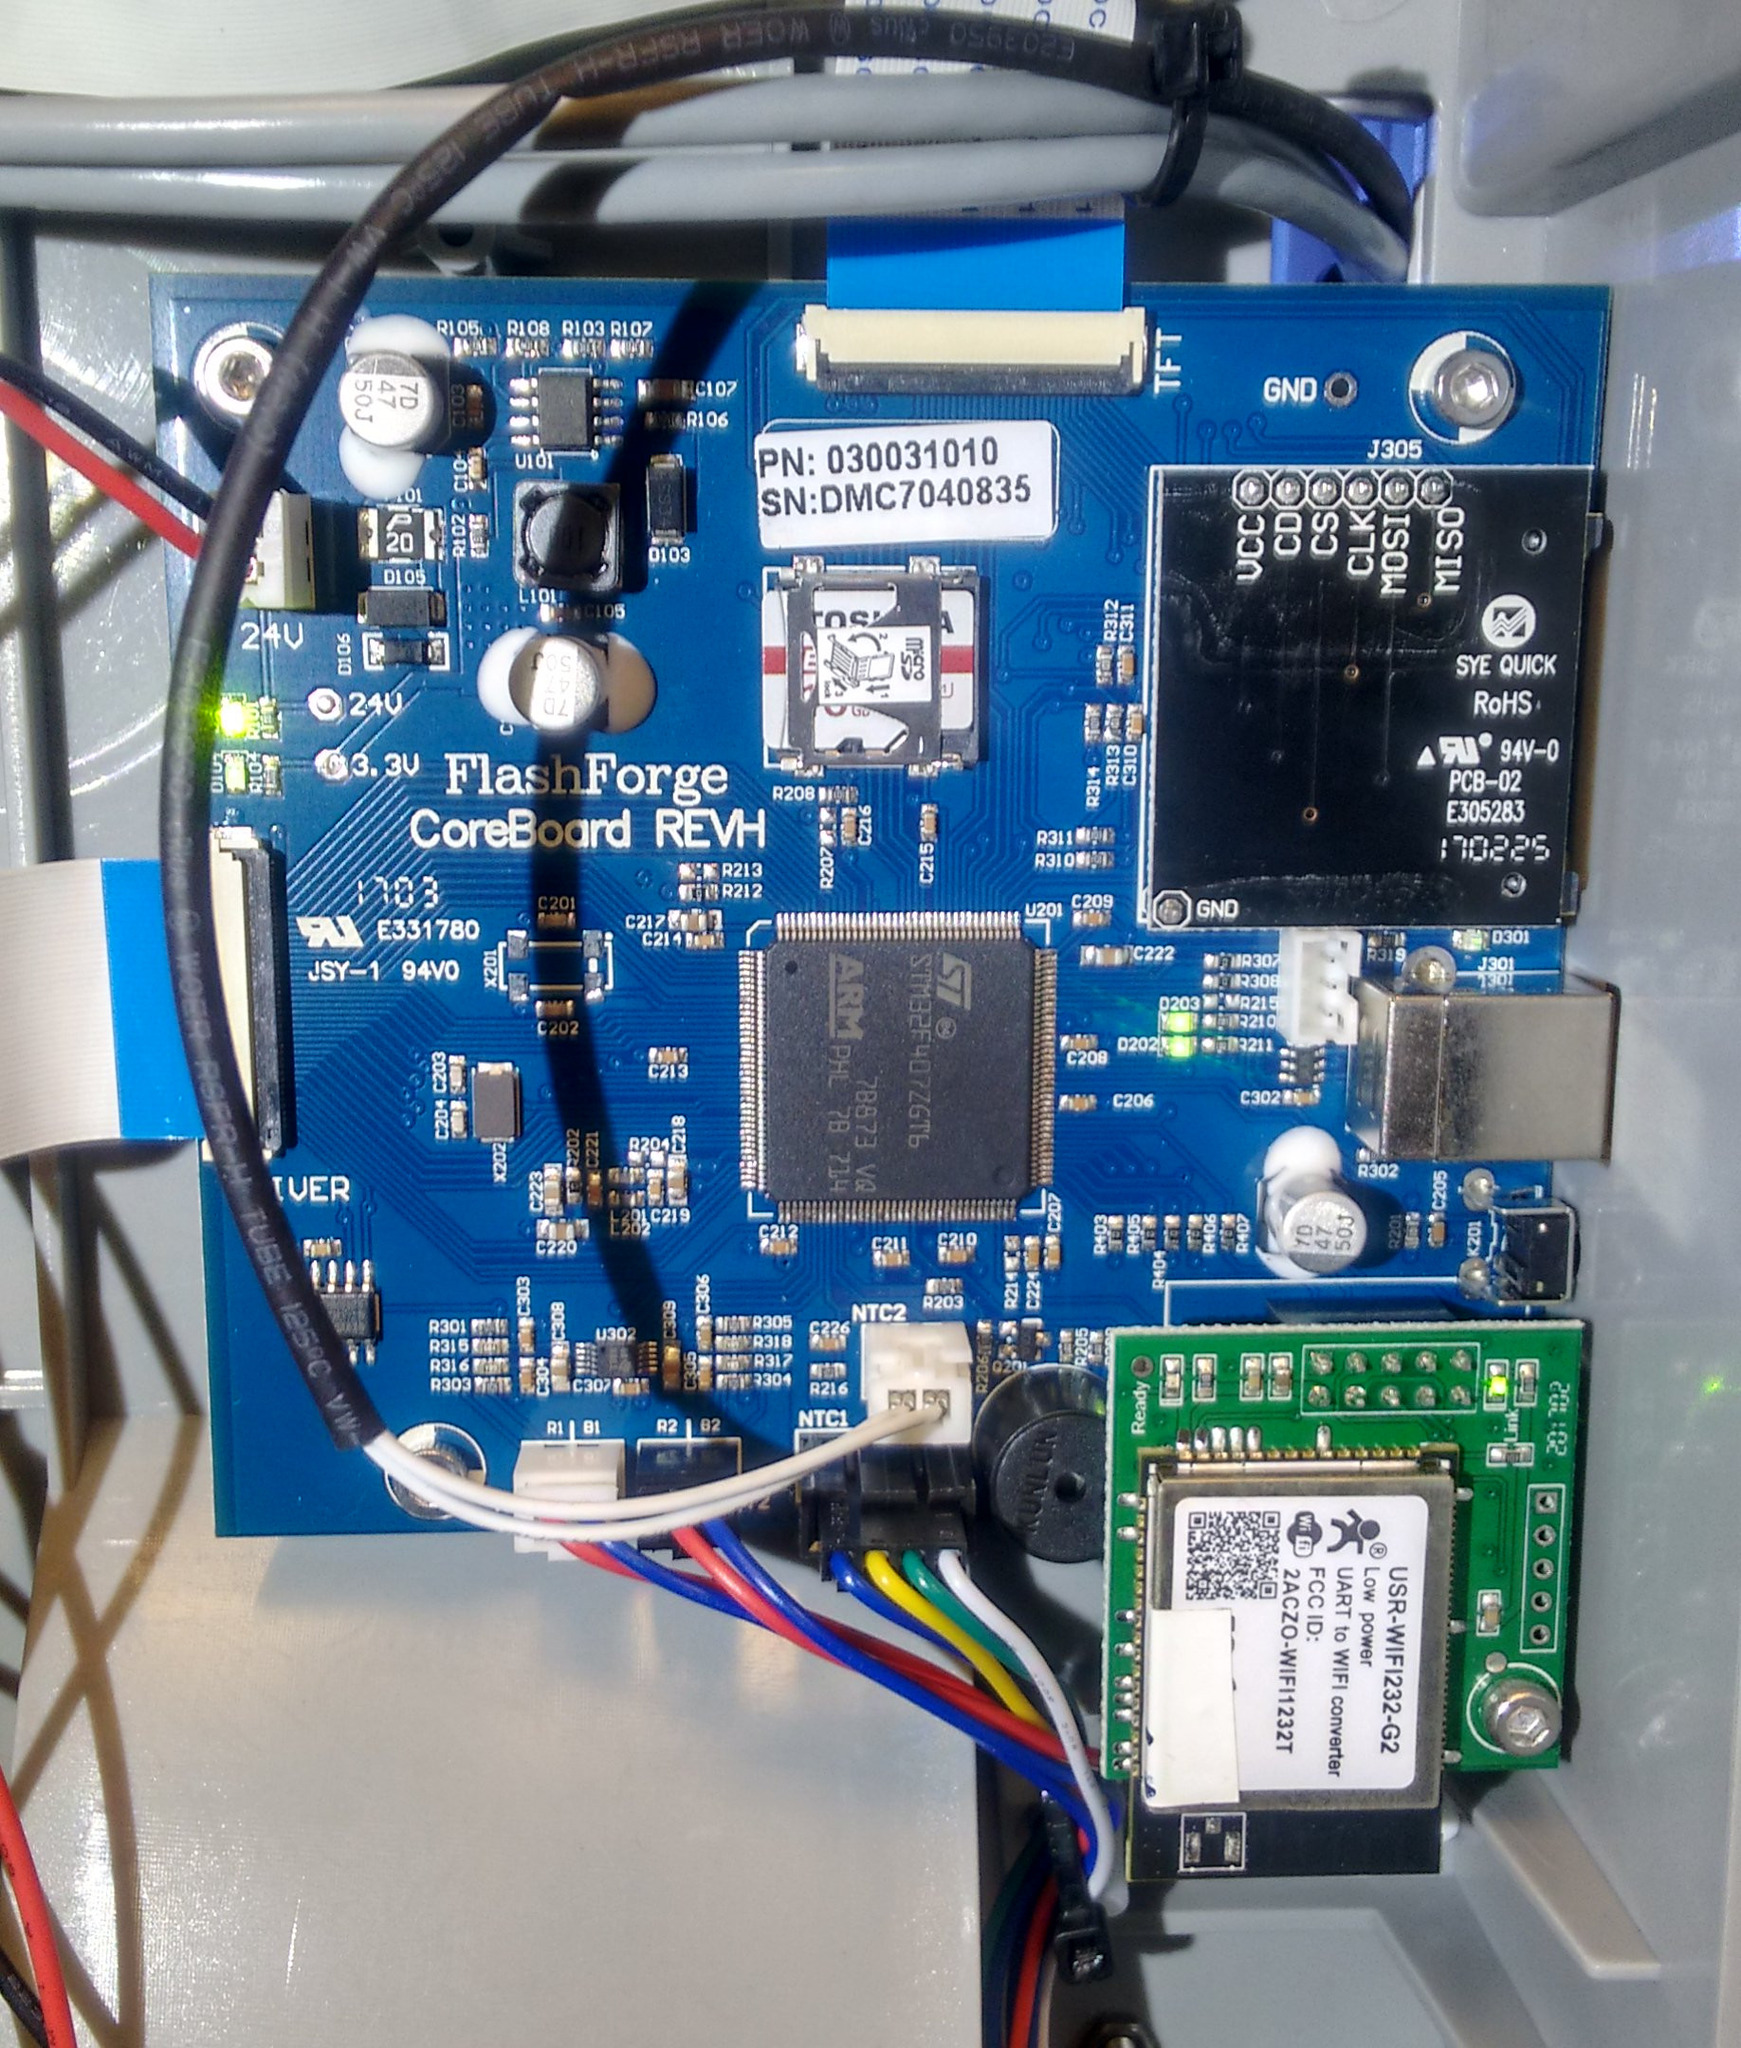
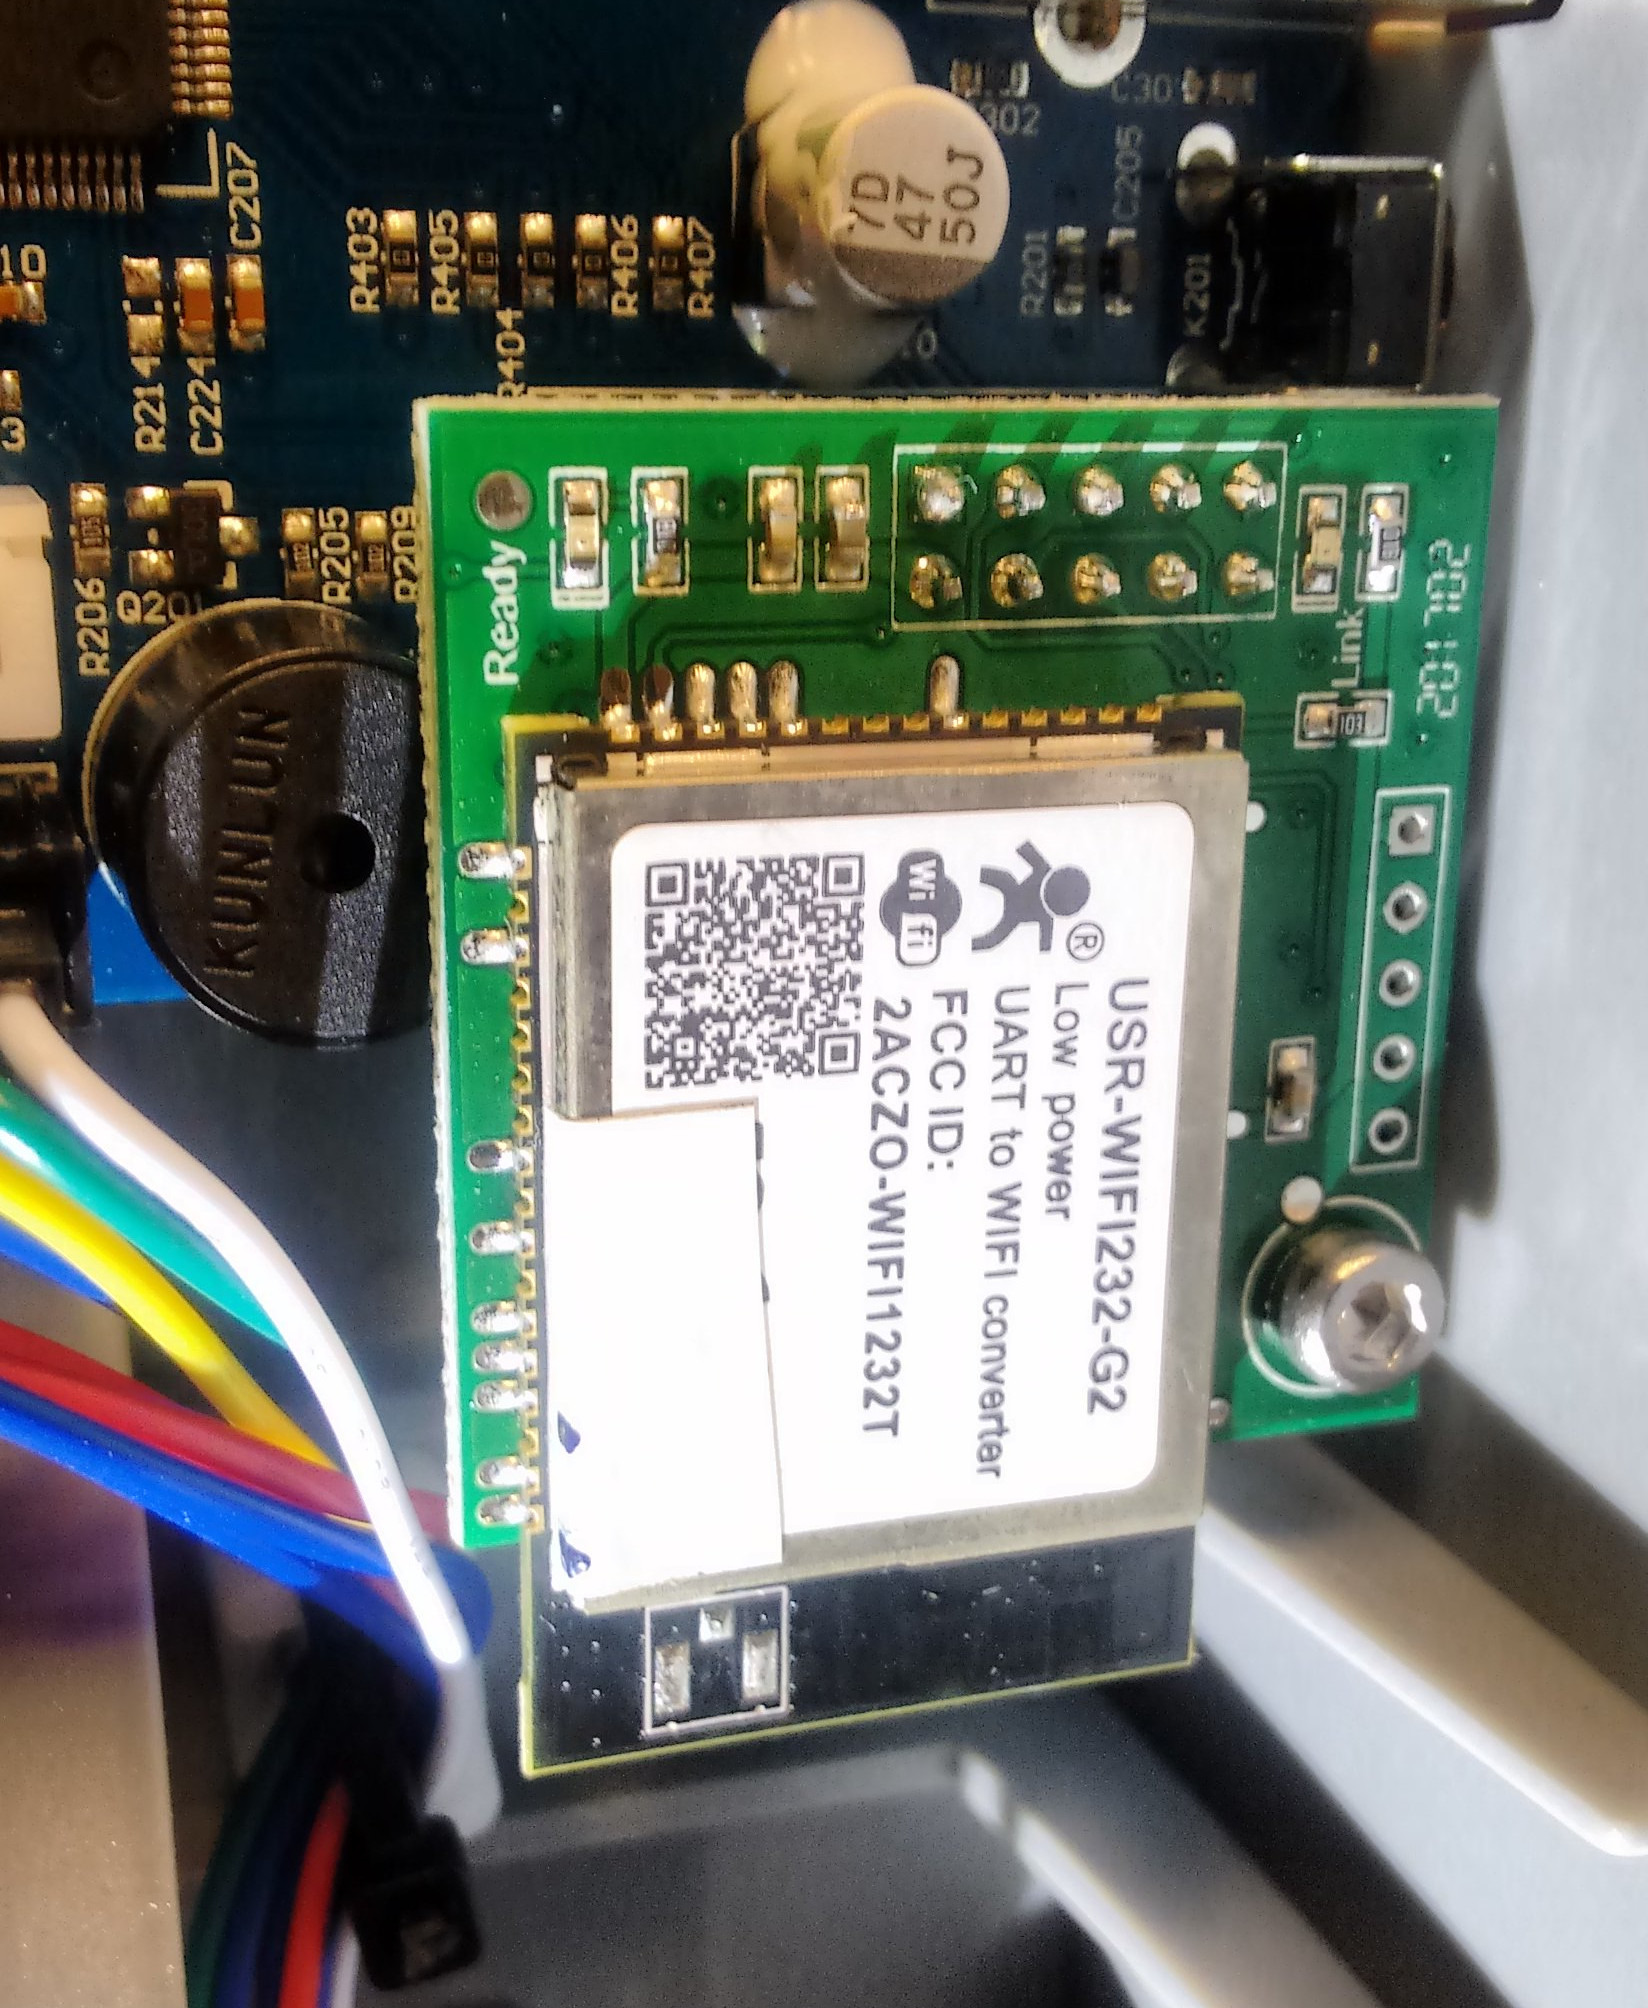
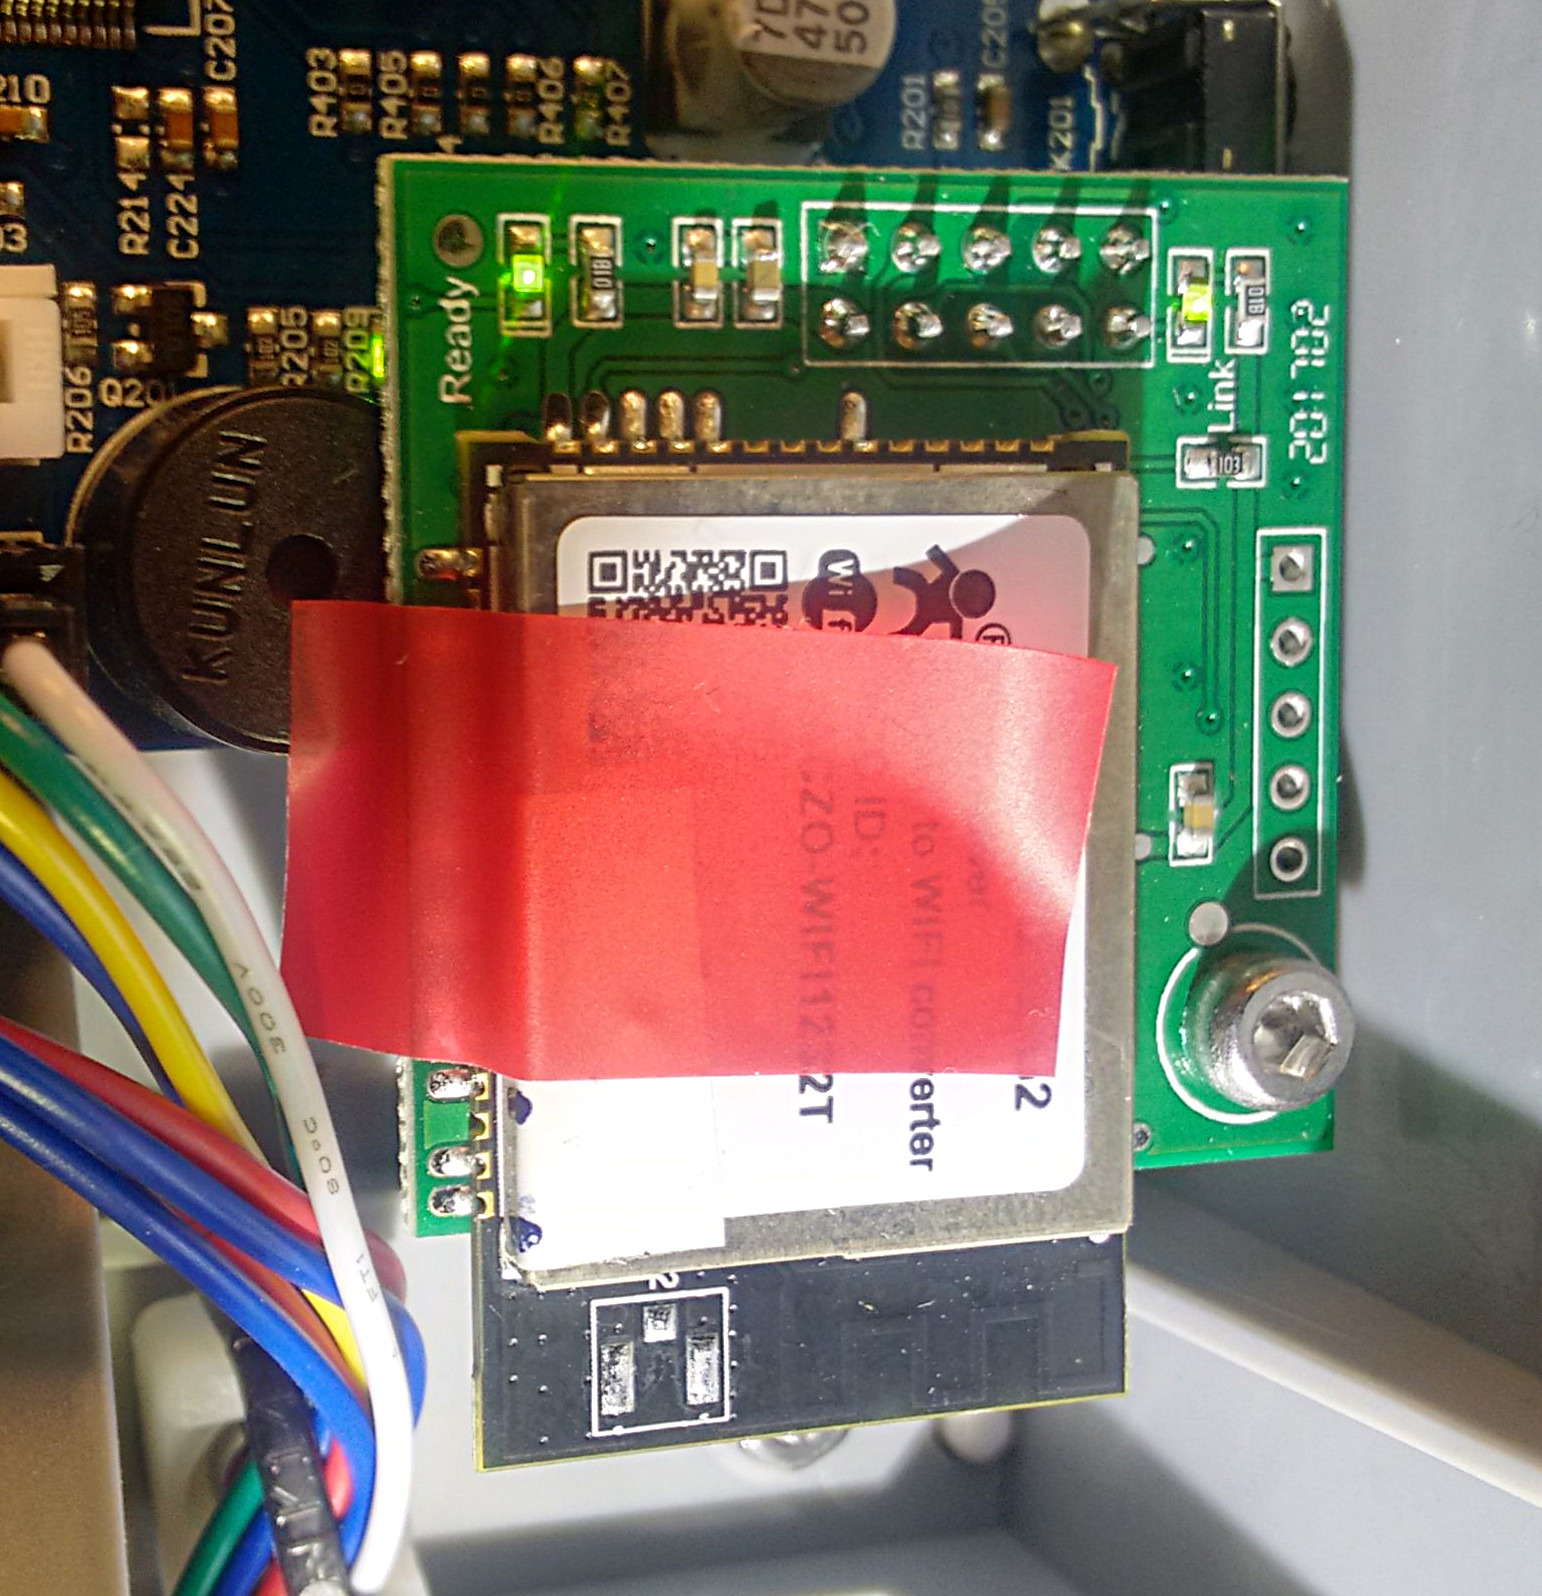
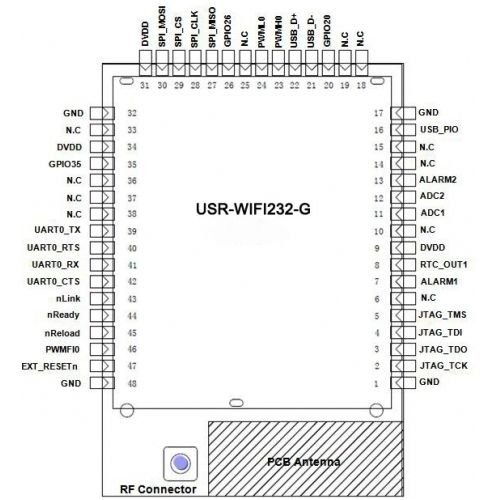
- Locate the wifi module on the right side "USR-WIFI232"
- Isolate the pins with tape like in the images below
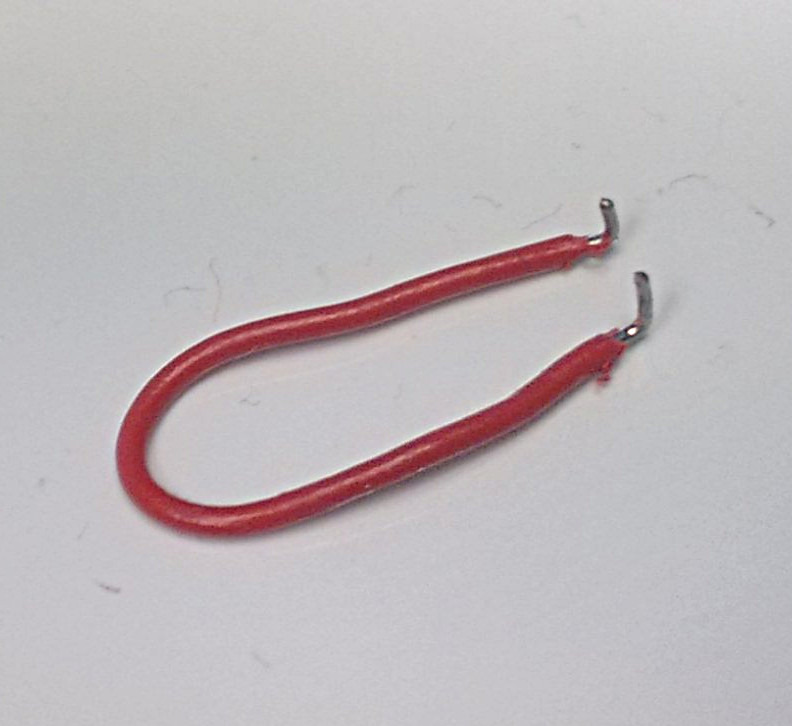
- Bend a piece of solid wire like in the images below
- BE VERY CAREFUL NOW, RISK OF ELECTRIC SHOCK!
- Reconnect the power
- Wait for boot process
- Tools -> Setting -> WIFI -> Enable Wlan
- Now connect ("shortcut") the pins 45 "nReload" and 48 "GND" with the piece of wire
- Make sure you touch only the specified pins
- Connect for several seconds!
- Power the print off and then again on
- Tools -> Setting -> WIFI -> Enable Wlan
- Scan for wlan "USR_WIFI232" on your computer/tablet/smartphone
- Repeat the process if it does not show up
Now you can configure the WIFI as decribed above.
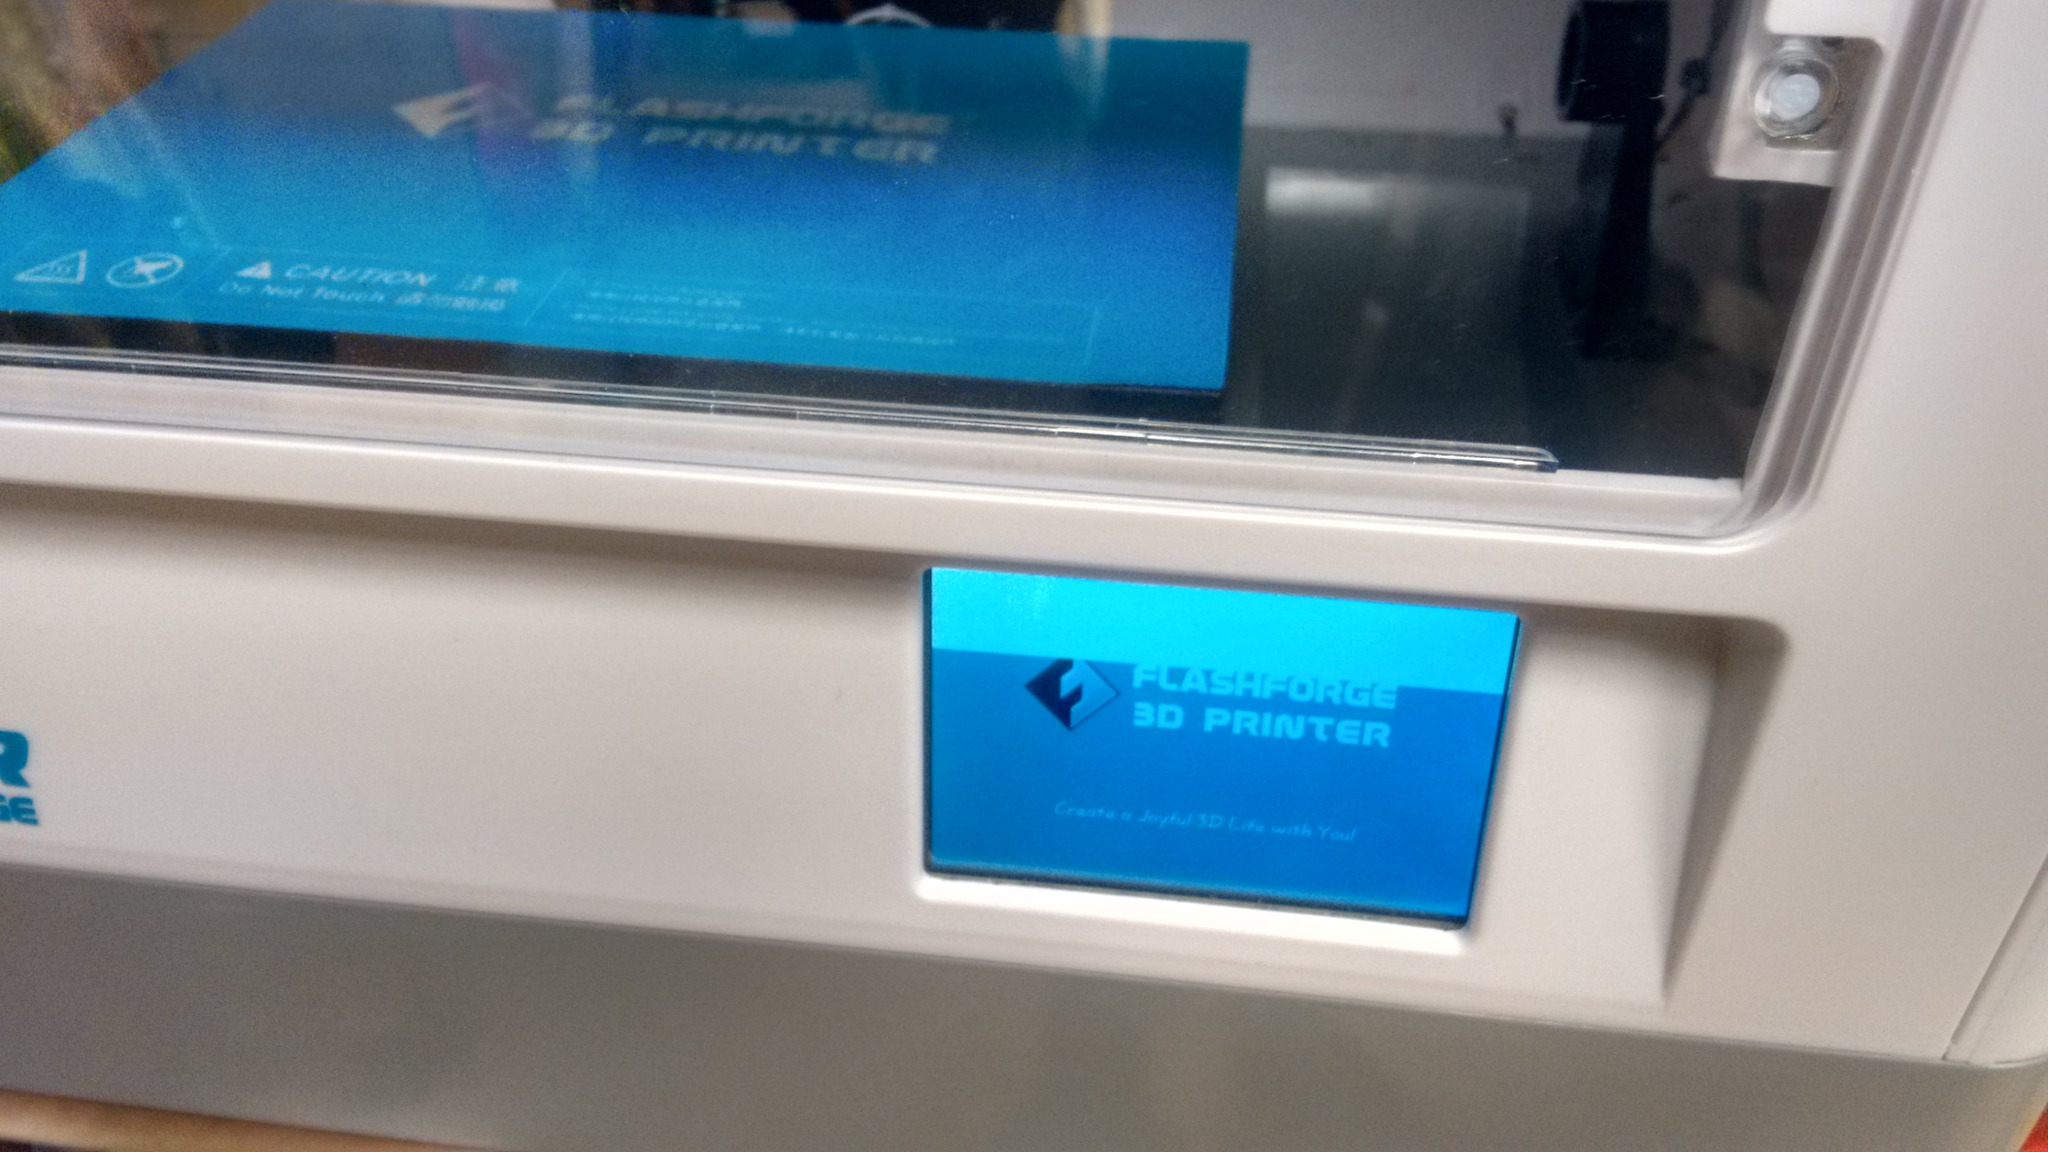
Fix Flashforge Dreamer 3D Printer Stuck with Blue Screen
On day after two months the printer did'nt start up anymore. It was stuck at two thirds of the welcome screen.
See images below
What we've learned:
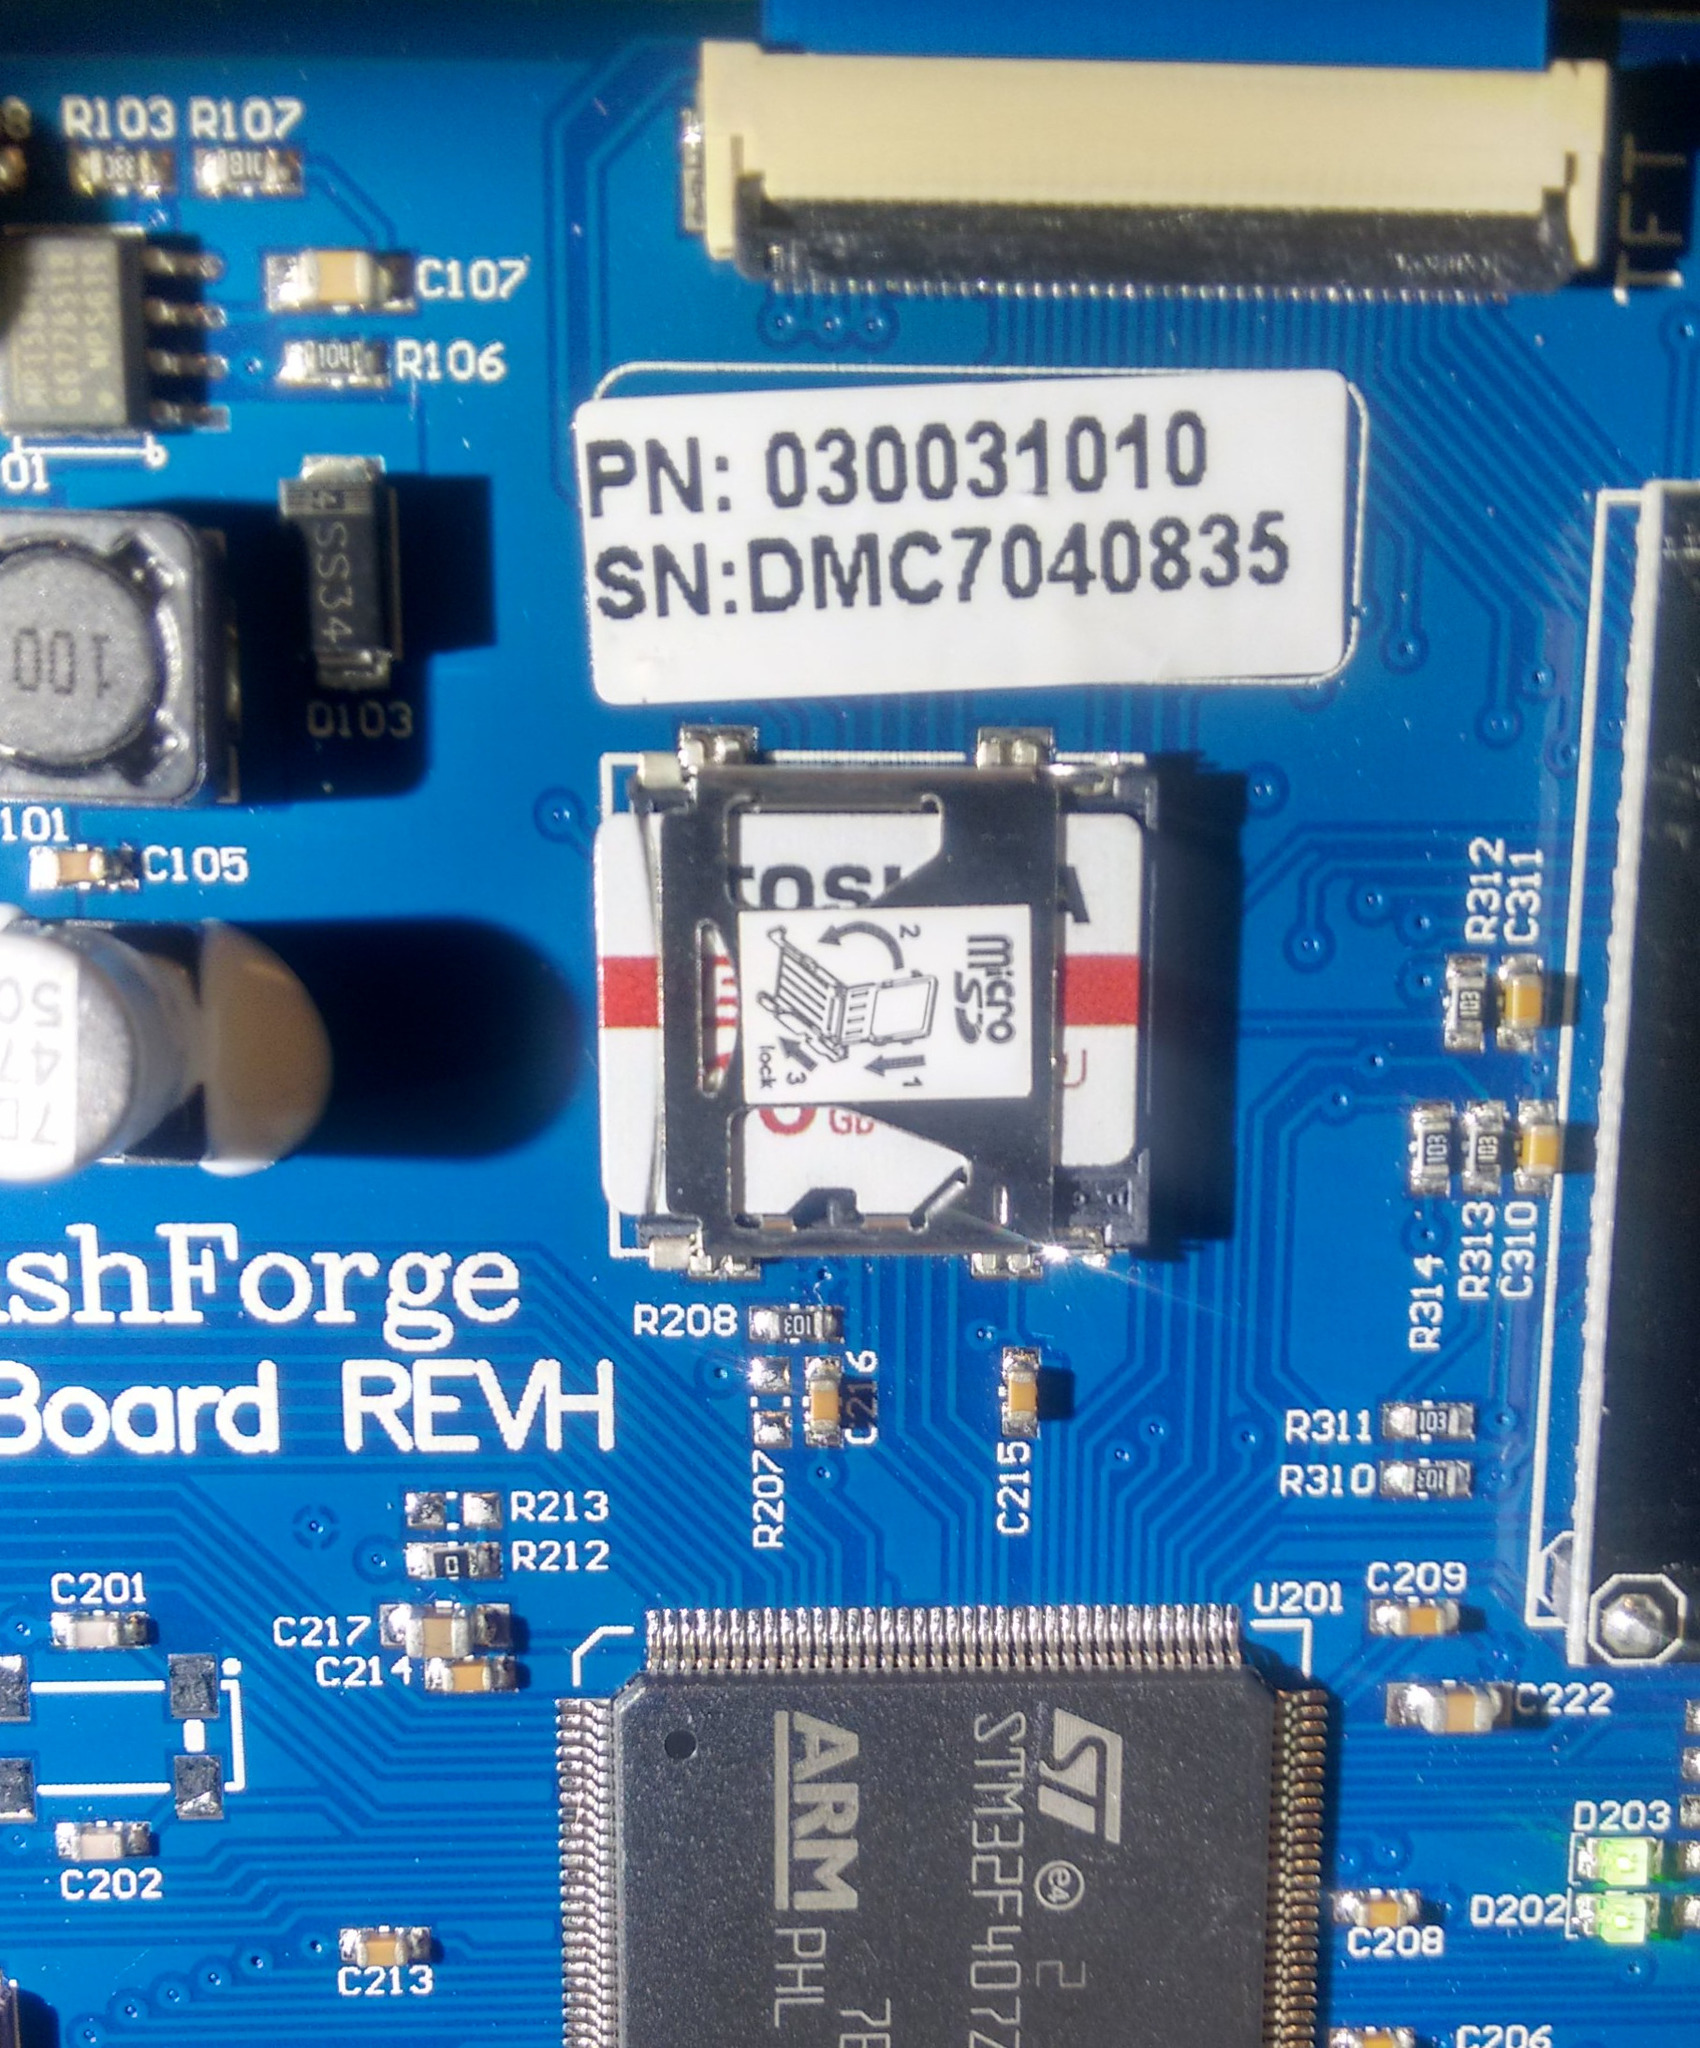
- The Flashforge Dreamer 3D Printer has an internal and an external SD card slot.
- The internal SD card slot is only accessible if you remove the bottom plate.
- The internal SD card is used only for
- The welcome screen (\sys\start.pmp, create your own :-))
- Firmware updates (\sys\dreamer.bin)
- "Caching" of files if you print via WIFI (and maybe USB?)
- You can simply remove the SD card and the printer will work fine when using the external SD card for your prints
- Our SD card filesystem and/or the firmware update file was corrupted
How to fix it:
- Disconnect the power cable.
- Lay the printer on its back side, so that the underside faces to you.
- Unscrew all screws with a 2.5mm hex wrench
- Remove the bottom plate
- Remove the internal SD card
- Access it with your computer
- Backup all files on it (copy them somewhere)
- Format the SD card with FAT32
- Copy the files back to the SD card, but delete \sys\dreamer.bin (Firmware update)
- Reassemble and power on, it should work now
Flash a new firmware:
- Download the latest Flashprint software
- Connect the printer via USB
- Update the firmware
- Restart the printer, it should work now
- Check the firmware version (Tools -> Setting -> About)
Good Luck!